Define your automation goals
Most smart home setups fail because they start with hardware instead of problems. Buying a bundle of gadgets for novelty creates a disconnected mess that feels like work rather than convenience. Before purchasing a single device, identify the specific friction points in your daily routine.
Start with one room or one problem. Avoid buying a whole ecosystem at once. Focus on tasks that happen repeatedly, such as locking doors, adjusting lighting, or managing temperature. If a task doesn't happen often enough to justify the setup complexity, it isn't a priority.
Write down the specific outcome you want. Instead of "smart lighting," try "lights turn on automatically when I enter the kitchen at night." This clarity determines which protocols and devices actually fit your needs, keeping your setup useful and sustainable.
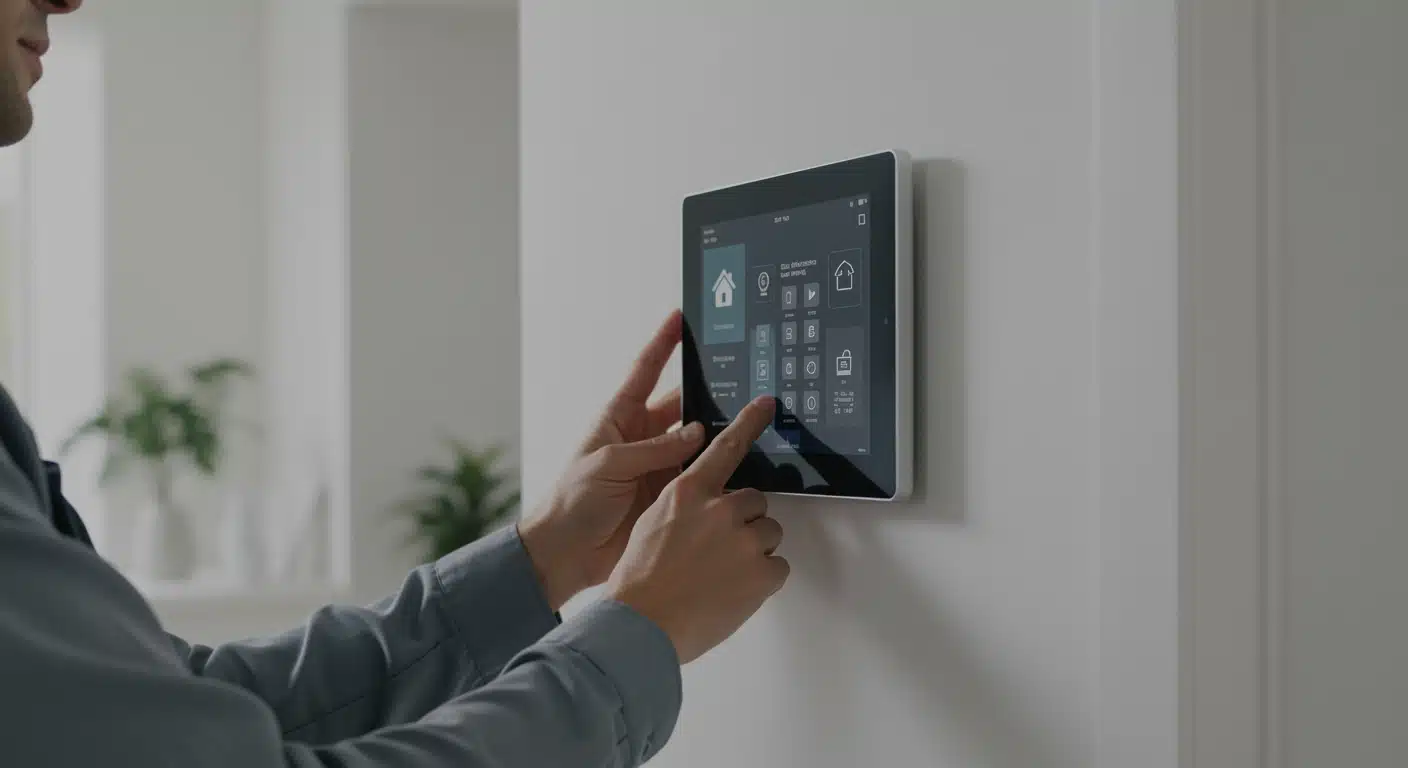
Choose your primary ecosystem
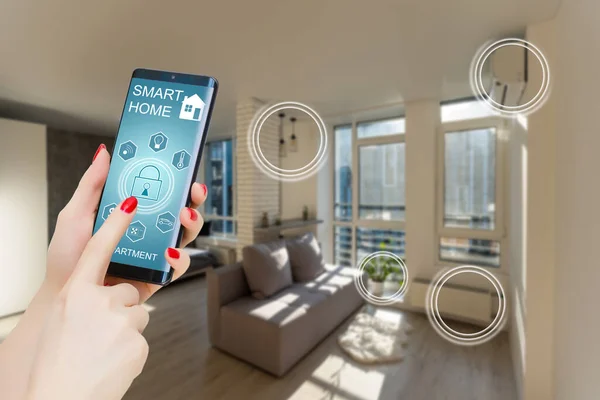
Your smart home needs a brain. This central hub connects your lights, locks, and thermostats, allowing them to talk to each other and to you. You generally have three main choices: Apple Home, Google Home, or Amazon Alexa. The best option depends entirely on the devices you already own and the voice assistant you use most.
Think of the ecosystem as the foundation of your house. If you build on a weak base, adding new rooms (devices) later becomes expensive and messy. Most smart plugs, bulbs, and sensors work with all three platforms, but some high-end or niche devices lock you into one specific ecosystem. Start by checking what you already have.
Compare the major platforms
The table below breaks down the core differences. Apple Home prioritizes privacy and works best for existing Apple users. Google Home excels at search and third-party device support. Amazon Alexa offers the widest device compatibility and often the lowest entry cost.
Apple Home
Choose Apple Home if you live in the Apple ecosystem. It runs on your iPhone, iPad, or Apple TV. The main advantage is privacy. Siri processes many commands locally on your device rather than sending them to the cloud. It also supports Thread, a new smart home protocol that is faster and more reliable than Wi-Fi for sensors. However, it requires an Apple device to act as a hub, which can add to your initial cost if you don't already own a HomePod.
Google Home
Choose Google Home if you use Android phones or Google services. The Google Assistant is currently the best at understanding natural language and answering questions. It integrates deeply with Google Calendar, Maps, and Search. If you want to ask, "When is my next meeting?" or "How long to drive to work?" Google Home handles this seamlessly. It supports Matter and Thread, making it compatible with most modern devices. The entry cost is low, as many Google Nest devices serve as hubs.
Amazon Alexa
Choose Amazon Alexa if you want the widest selection of compatible devices. Alexa has the largest library of "Skills" (apps) and supports the most third-party smart home brands. It is often the most budget-friendly option, with Echo Dot devices frequently on sale. The interface is less polished than Apple or Google, and privacy concerns are higher due to Amazon's data collection practices. However, if you shop on Amazon often or want the most plug-and-play options, Alexa is the safest bet.
Secure your home network first
Your smart home is only as strong as the Wi-Fi it runs on. An unsecured network exposes every connected device to prying eyes. Start by locking down the foundation before adding gadgets.

Most routers ship with generic admin passwords like "admin" or "password." Attackers use automated scripts to find these instantly. Log into your router’s admin panel and change both the administrator password and the Wi-Fi password to something unique. Use a password manager to generate a strong, random string.
Wi-Fi Protected Access (WPA) is the protocol that secures your wireless connection. Older versions like WPA2 have known vulnerabilities. Check your router settings for Wi-Fi security options. If WPA3 is available, select it. If not, stick with WPA2-AES. Avoid WEP or TKIP, which are outdated and easily cracked.
Smart devices often have weaker security than your laptop or phone. Isolating them prevents them from accessing your personal files. Create a separate SSID labeled "Guest" in your router settings. Enable "AP Isolation" or "Client Isolation" to ensure devices on this network cannot talk to your main network. Use a different, simpler password for guests.
Wi-Fi Protected Setup (WPS) allows easy connection but has a critical flaw that lets attackers brute-force your PIN. Universal Plug and Play (UPnP) automatically opens ports on your router, which can be exploited by malware. Find these features in your router’s advanced settings and turn them both off.
Router manufacturers release updates to fix security holes. Enable automatic updates in your router settings if available. If not, check for updates monthly. An outdated router is an open door. Some modern routers push updates directly to the device without manual intervention.
Use the command line to scan for devices connected to your network. Look for unfamiliar MAC addresses. If you see a device you don’t recognize, block it in your router settings. Regular audits keep your network clean.
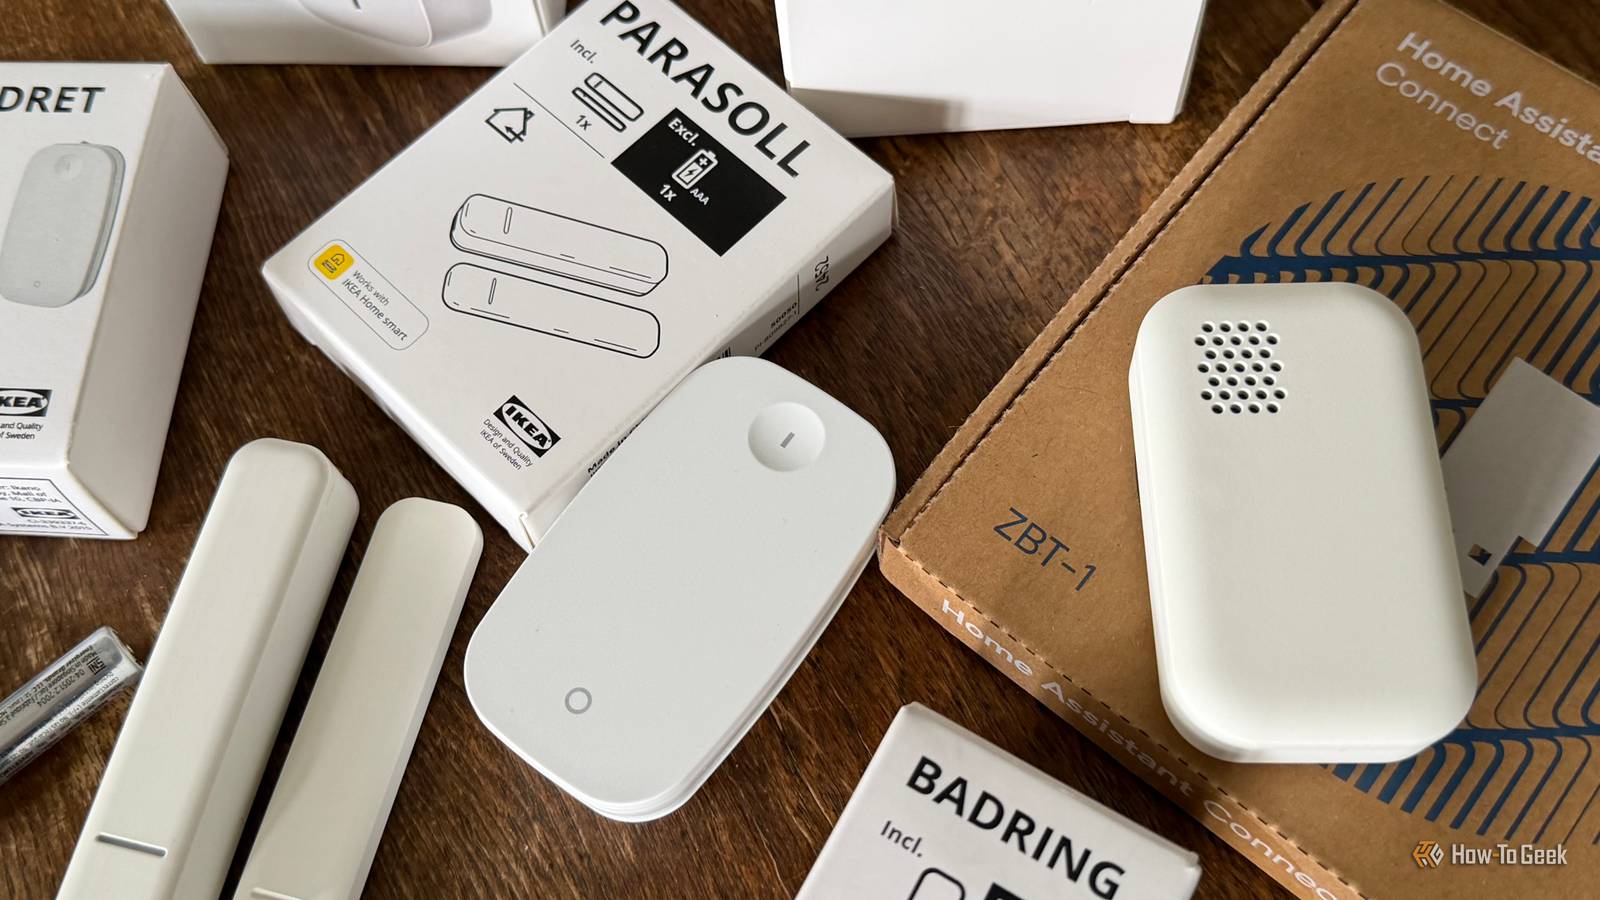
Install core devices step by step
Building a smart home starts with connecting the basics. You need a hub or a compatible app to act as the central nervous system for your gadgets. Once that foundation is set, you can add smart plugs, bulbs, and sensors. Follow this sequence to get your first devices online without confusion.
Connect your smart plug
Smart plugs are the easiest entry point. They turn dumb appliances into smart ones by controlling power. Start by plugging a smart plug into a wall outlet near your router for the initial setup. Download your ecosystem’s app—such as Home Assistant, SmartThings, or the manufacturer’s proprietary app—and create an account.
Enable Bluetooth or Wi-Fi on your phone, then follow the in-app prompts to pair the plug. Most devices enter pairing mode automatically when plugged in, but some require holding a button for five seconds. Once connected, assign it a name like "Living Room Lamp" and place it in a room group. Test it by toggling power on and off from the app.
Set up smart lighting
Lighting sets the mood and visibility for your new setup. Whether you choose smart bulbs or light switches, the goal is reliable connectivity. For bulbs, screw them into existing fixtures and ensure the switch remains on. For switches, turn off power at the breaker, replace the old switch, and restore power.
Open your app and search for new devices. Smart bulbs usually appear instantly if they are on the same Wi-Fi network. Smart switches may require a "neutral wire" connection; if your home lacks one, look for models that work without it. Group lights by room so you can control them all at once. Set up basic schedules, like turning off hallway lights at midnight.
Install a smart thermostat
Heating and cooling represent the biggest energy savings in a smart home. Before installing, check if your HVAC system requires a C-wire (common wire) for continuous power. If not, you may need a power extender kit, often included with the thermostat. Turn off the power at the breaker, remove your old thermostat, and label the wires according to the new device’s diagram.
Mount the base plate, connect the wires, and attach the thermostat unit. Restore power and follow the on-screen setup to connect to Wi-Fi. Calibrate the temperature sensor if needed. Set your preferred heating and cooling schedules. A properly installed thermostat learns your habits over a few weeks, optimizing comfort and efficiency.
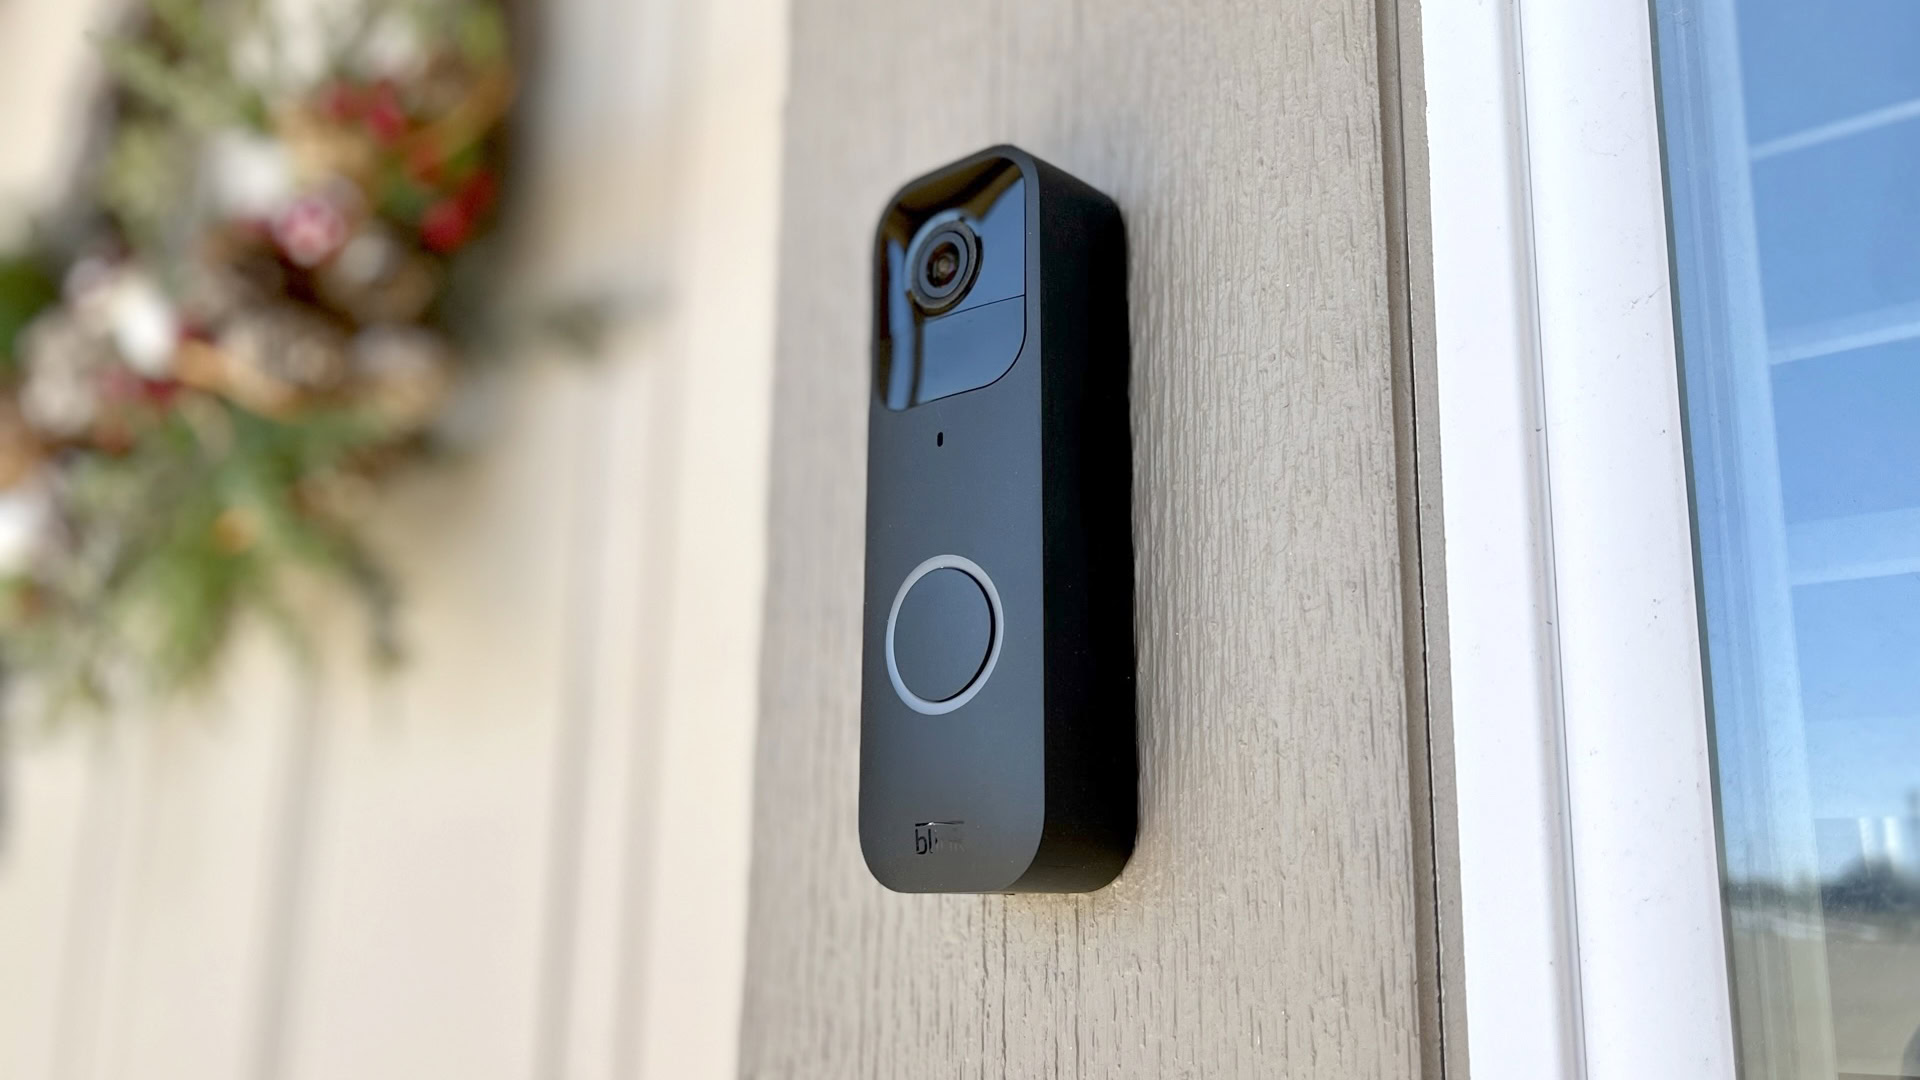
Add a smart security camera
Security cameras provide peace of mind. Choose a location that covers a main entry point or backyard. For outdoor cameras, ensure the mounting surface is solid and the Wi-Fi signal is strong at that spot. If the signal is weak, consider a Wi-Fi extender or a camera with cellular backup.
Mount the camera bracket, secure the camera, and connect it to power. Download the companion app and add the camera by scanning the QR code on the device. Adjust the field of view and sensitivity settings to avoid false alerts from trees or pets. Enable motion detection zones to focus on specific areas like your driveway or front porch.
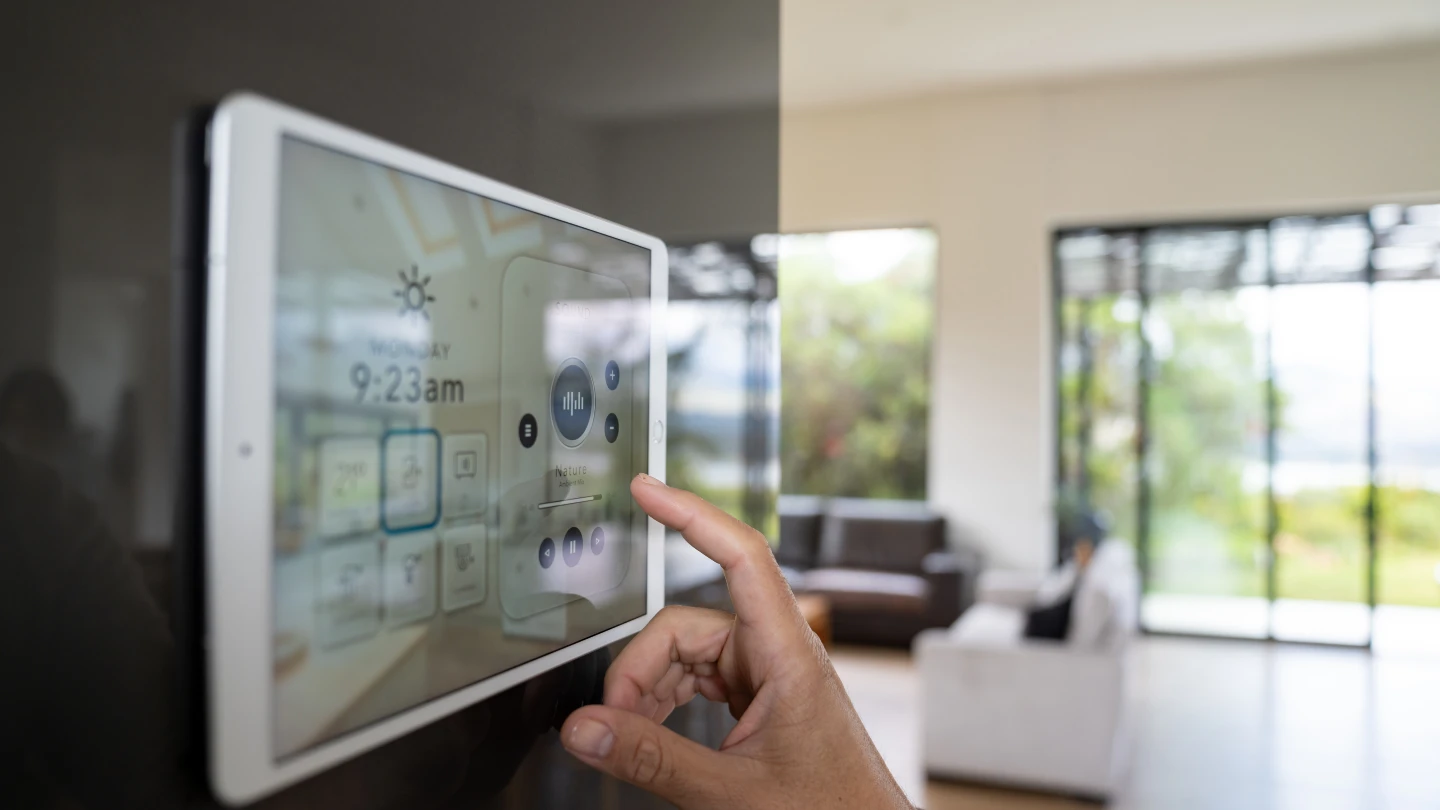
Finalize your smart home setup
With core devices connected, it’s time to organize. Group devices by room in your app to simplify control. Create routines that trigger multiple devices at once, such as "Good Morning" turning on lights and the coffee maker. Test each routine to ensure reliability.
Update all device firmware to the latest versions for security and performance. Review privacy settings and disable features you don’t use. Your smart home is now functional. As you add more devices, keep this structured approach in mind to maintain stability and ease of use.
Test and refine your routines
With your devices paired, the next step is connecting them into logical automations. This process turns individual gadgets into a cohesive system that responds to your daily habits. Start by building a "Good Morning" routine as a baseline test.
Build a "Good Morning" Routine
Create a routine that triggers at a set time or when you leave sleep mode. Link your smart lights to dim gradually, start your coffee maker, and pull up weather data on your display. This sequence verifies that your hub can communicate with different device types simultaneously.
- Open your smart home app and select Create Routine.
- Set the trigger to Time of Day (e.g., 7:00 AM).
- Add actions: Turn on hallway lights (50% brightness) and start the coffee maker.
- Save and manually trigger the routine to confirm execution.
Troubleshoot Connectivity Issues
If a device fails to respond, check your Wi-Fi signal strength first. Routers placed in closets or on upper floors often create dead zones for smart plugs and sensors. Move the router closer or add a mesh node to bridge the gap.
For Zigbee or Z-Wave devices, distance from the hub matters more than Wi-Fi strength. Ensure your hub is centrally located. If devices drop offline frequently, check for firmware updates in your app settings. Outdated firmware is a common cause of routine failures.
Verify and Adjust
Run each routine multiple times at different hours. Note any delays or missing actions. If lights flicker, check for interference from other electronics. Refine timing intervals to match your actual morning pace.
Pre-Launch Checklist
Before relying on your setup, ensure all components are stable.
No comments yet. Be the first to share your thoughts!